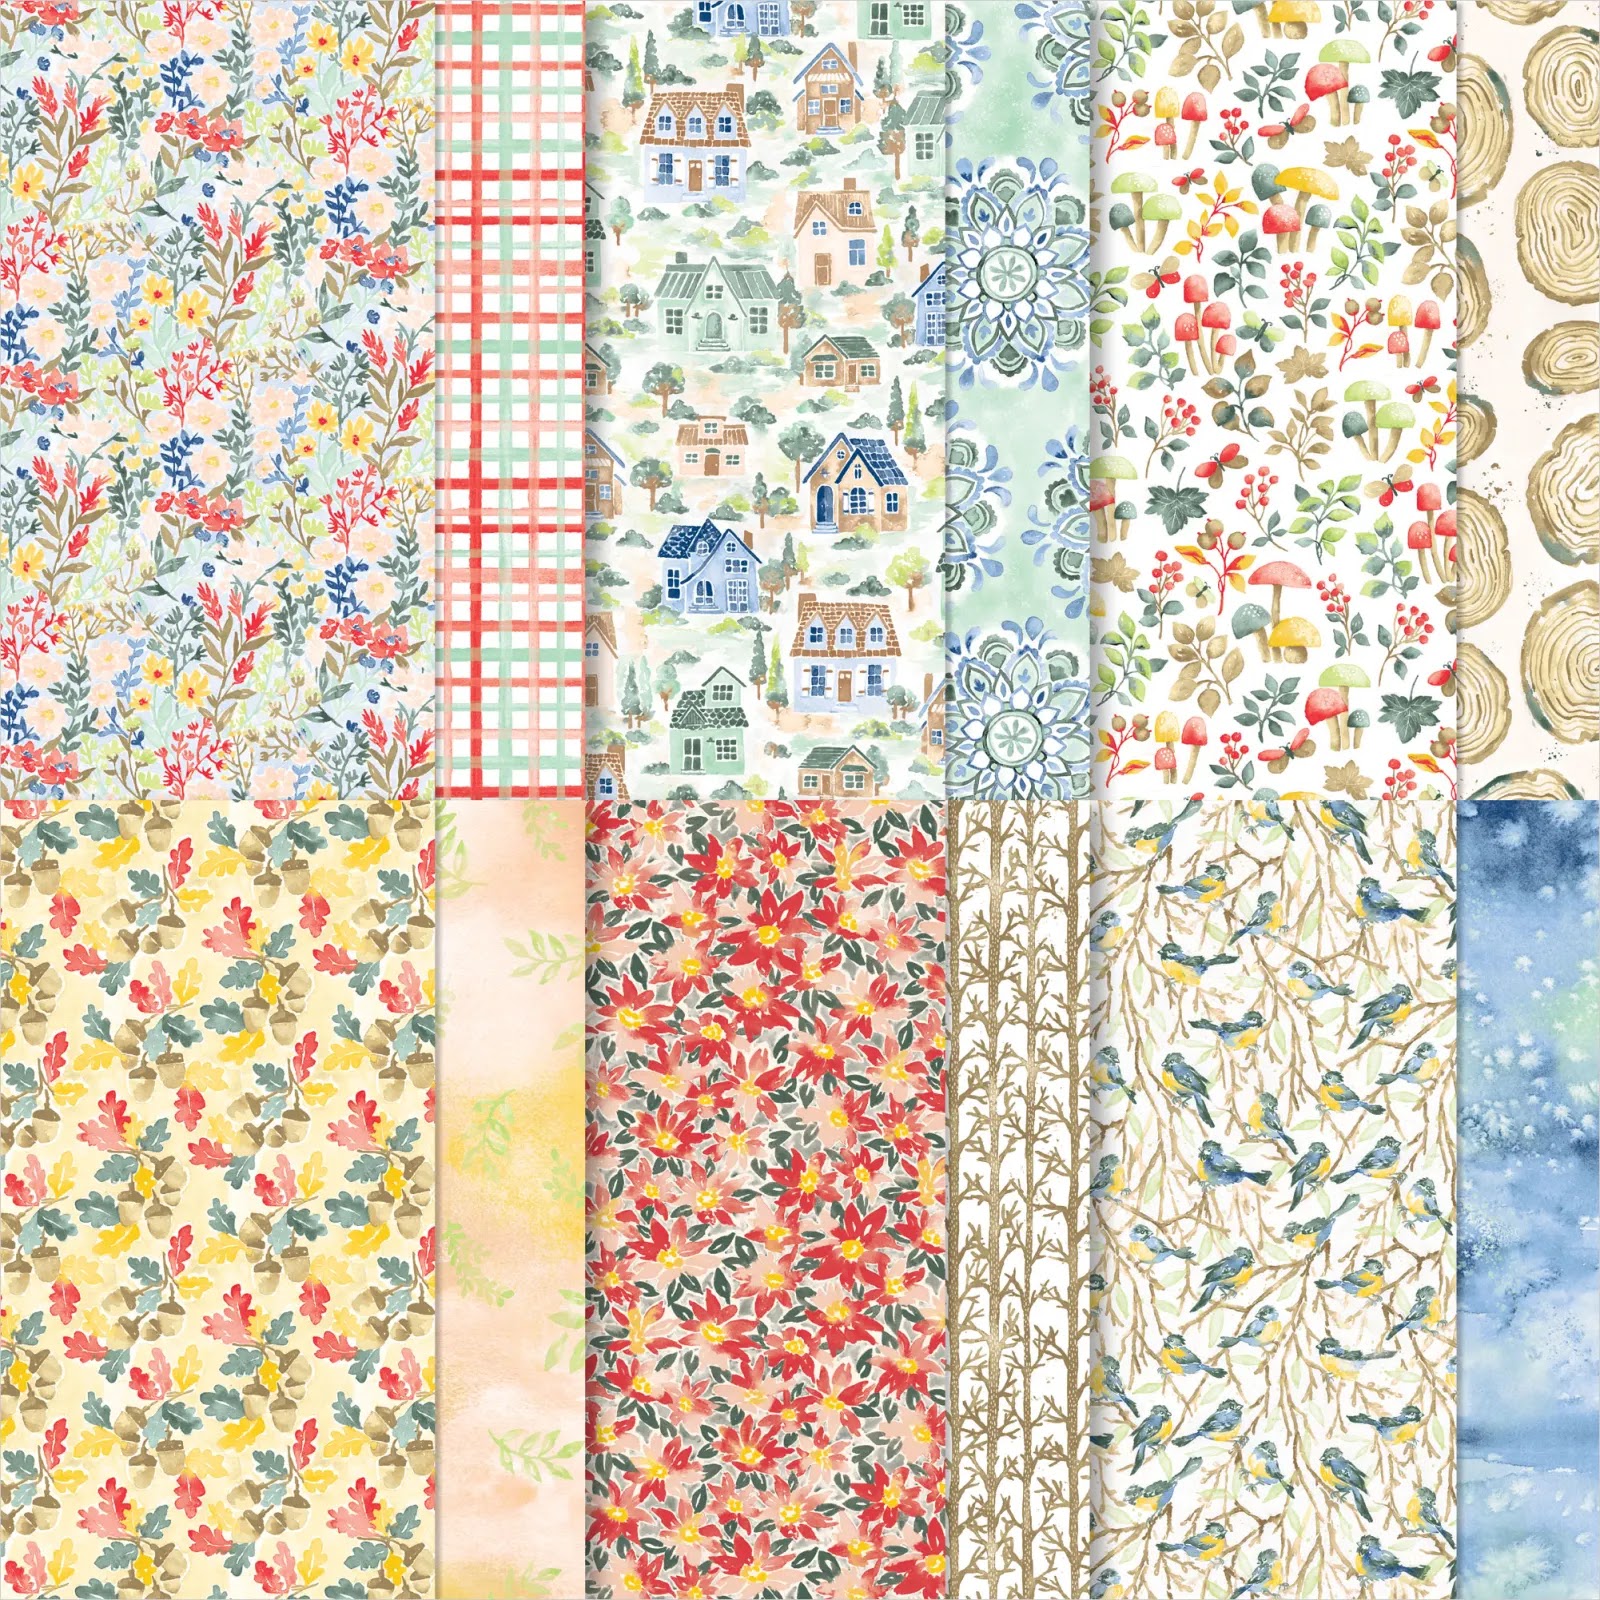
Here in the card making world it's simply cutting up your designer series paper (patterned paper) and making a set of cards with the full sheet. I love doing this to use up my patterned paper stash.
I can then use the cards for myself or even better, make sets to gift. And since it's friendship day coming up this weekend, I'm making loads of gifts for all my friends who support me. They support me in all aspects of life and in my business. Some are card makers and some just love to send cards and support me in other ways like watching my videos and buying handmade cards from me.
So today, I want to introduce you to a one sheet wonder with notecards. I love notecards and if you've been hanging with me for very long, you know this. Notecards are great for quick cards and are mailable here in the US. They come in packs of 20, are pre-scored and have envelopes. Perfect, right?!
I made 20 notecards with my template for a 12" x 12" piece of designer series paper. Wow that's a load of cards. I'm dividing them up into gift sets and making cute gift bags too. Isn't this a great friendship gift? Check out my video below to see how I made these and the gift bag from start to finish.
Feel free to copy my template:
You can use a 12" x 12" sheet of patterned paper or 4- 6" x 6" sheets. I show how to do all the cutting in the video.
Feel free to change the diagonal cut and cut that in half either way. You'll end up with these pieces:
4- 3" x 3" pieces (I cut one up into 1" x 3" strips)
4- 2" x 3" pieces
4- 1" x 5" pieces
4- 1" x 1" pieces (You could cut this a little different- I go over this in the video. These are used on one card.)
2- 4" x 3" pieces
1- 4 1/2" x 3" piece
2- diagonal pieces (Cut piece 4 1/2" x 3" then place dots at 1/2" from bottom right and top left. Line up dots in trimmer and cut diagonal)
2- 1 1/2" x 3" pieces
Here's some more close-ups of the finished cards. I used different colored cardstock for mats but you could use all one color. Have fun with it and mix and match.
I used Basic Black, Basic White, Basic Gray, Pool Party and Rich Razzleberry cardstock. The black and white pattern design allows for many color choices. You can also add color to the patterned paper with watercolor pencils, markers (blends or stampin' write), ink pads and water painters, whatever you like. The cardstock layer is 1/4" bigger than the patterned paper. You can adjust this if you want a smaller border.
I designed these cards for beginners or any level of card maker. You'll need patterned paper, notecards, one ink color, cardstock if you want to mat your patterned paper, a trimmer, some favorite greetings and basic stamping supplies (clear blocks and cleaning tools) and cardstock strips. I cut loads of Basic White cardstock and end up with piles of strips that are 1/2" and 1" so I used those on the cards I need to add a space for a greeting. The gift bags are available in my online store too. All you need to do is decorate it.
I hope you've enjoyed these cards and give this one sheet wonder a try. Here's another set that I made that is a little stepped up. I used die cuts instead of cardstock strips. For the gift bag I used a blending brush and added some Merry Merlot to the bottom of my bag.
Need some Stampin' Up! supplies? Head on over to my online store.
If you need any help deciding what to get for this project or what you need to get started, please email me at stampandcreatewithbeth@gmail.com.
*It's Saleabration time here at Stampin' Up! so you'll earn free, exclusive products from our Saleabration brochure with a minimum $50 order before tax and shipping (US).
Watch this how-to tutorial video for this project from start to finish.
Thanks for stopping by my blog today and checking out my cards. Please let me know if you try this. I'd love to see how you use it.
I know the feeling. Sometimes I mull over what colors to use and it takes me a bit to decide. I'd love to help you with some of my favorite color combos. Today as I was deciding what colors to use, my 6 year old son came into my craft room. He often comes in to see what I'm working on. He's probably my #1 fan and I love that he loves what I'm creating and takes an interest. So today, as I was thinking over what green to use with Rich Razzleberry and Blushing Bride, I asked him to choose a green. He picked Soft Sea Foam. He liked Mint Macaron too but ultimately decided to go with the Soft Sea Foam.
And then, this color combo was born. I love a gray as my neutral color. To soften this combo up, I choose Gray Granite.
What happens next?
I decide what stamps to use with my choose color combo. Easier said than done, right?! I decided to stamp my own patterned paper with Artistically Inked and Forever Fern stamp sets. This color combo worked perfectly in my opinion. I find stamping randomly on a sheet of 8 1/2" x 11" cardstock therapeutic. There's no right or wrong way to do it and you end up with a custom stamped piece to cut up and make layers for several cards.
Here's a close-up of my stamped sheet.
Next I just need to cut it up and make some cards. You can make notecards, standard size (5 1/2" x 4 1/4" folded here in the US), or slimline cards. I decided to cut my piece up into 6 card fronts for 6 standard sized cards. Add these layers to colored card bases, some simple greetings and you have a custom set of cards ready to go.
I cut mine in half at 4 1/4" on the 8 1/2" side and then cut each strip at 3 1/2" and 3 1/2". That gave me four pieces measuring 4 1/4" x 3 1/2" and two pieces measuring 4 1/4" x 4".
I used my Stamparatus to add my greetings right to my layers. They're all from Artistically Inked stamp set and stamped in Gray Granite ink. Each greeting is inked and stamped at least twice. The Stamparatus makes this task easy by keeping your paper in place so you can stamp the greeting as many times as needed.
Here's my completed cards:
I also stamped an inside layer since I used colored cardstock for my bases.
I placed my Basic White layers (5" x 3 3/4") into my Stamparatus and stamped them all the same. Just make sure if you're stamping words inside that you rotate so it matches the direction of your card on the outside (landscape or portrait). I stamped mine without words so they are all the same and work for both landscape and portrait cards.
I hope you enjoyed this color combo and the cards I made with it. Please give it a try.
Need more ink colors from Stampin' Up!? Check out all the colors in my online store.
Christmas Barn stamp set isn't just for Christmas and winter themed cards!
Sometimes stamp sets have a set holiday or season they're intended to be used for. I love when we can use a stamp set intended for Christmas or winter all year long. Christmas Barn is definitely one of those stamp sets. It also has a coordinating die set too. You can buy it as a bundle and save 10%.
For this card, I used the barn along with some other products that say Fall to me. The color scheme has a Fall feel too. The barn is a line stamp so you can add color any way you like. I have watercolored it, used watercolor pencils without water and Stampin' Blends markers. You can customize your barn and make it any color you like. I love the look of a red barn so all my samples use red. I hope you play with this set for all seasons and enjoy coloring the barn with your favorite coloring tools.
This card was made on my Facebook live- Coffee and a Card. The participants help in deciding some things for the card. It's a great time to see the creative process and learn how to make cards. I stamped in Saddle Brown Staz-On ink and watercolored my barn. I used Cherry Cobbler, Old Olive and Balmy Blue classic inks and water painters. The trees are stamped in Soft Suede (stamped off once), Crushed Curry, Old Olive, Pumpkin Pie, Cajun Craze, Mango Melody and Cherry Cobbler. My banner layer is the Knit Together background stamp in Cajun Craze. I used watercolor paper for my stamped layer with the barn and fall trees. The other layers are Very Vanilla cardstock and Soft Suede for the card base.
Measurements:
card base: 5 1/2" x 8 1/2" folded in half or scored at 4 1/4"
banner layer (very vanilla): 2 1/2" x 3 1/2". stamp with background stamp then trim banner part with scissors or a die
Very Vanilla cardstock layer: 5" x 3 3/4". cut 2- one for front and one for inside card.
Watercolor paper: 5" x 3 1/2". stamp and watercolor. Then trim around images with scissors.
greeting strip: 1/2" x 2 1/4" or whatever length fits your greeting.
*Let watercolored layer dry before adhering card layers together.
I used Christmas Barn, Beauty of Friendship, Happiness Abounds and Knit Together stamp sets. The barn was stamped and then I made a mask with the masking paper before stamping the trees behind the barn. You can see how I made this card in the video below.
Here are some other Fall cards made with the barn stamp set that were watercolored.
This card is a little simpler with less layers.
I decided to try using the watercolor pencils but not activating them with water for this card. I love the texture you get from coloring with the pencils. I used Cherry Cobbler, Real Red, Basic Gray, Basic Black, Old Olive and Garden Green watercolor pencils. The tree is stamped in Crushed Curry, Mango Melody and Crum Cake and then fussy cut with scissors.
My last card I paired with Aspen Tree dies (coordinates and is bundle with Perched in a Tree stamp set).
It's a simple card with a stamped layer (Very Vanilla) and stepped up with some die cut leaves. The leaves are die cut from colored cardstock (Cajun Craze, Calypso Coral and Blackberry Bliss) and stamped with the texture stamps in Perched in a Tree stamp set. I love the texture from the die cut and the splatter stamps. The greeting is also from Perched in a Tree stamp set. The barn is colored with Stampin' Blends markers - light/dark Cherry Cobbler, dark Real Red, light/dark Old Olive, dark Mossy Meadow, light/dark Smoky Slate. For the sky behind the barn, I used Balmy Blue classic ink and a blending brush.
I hope you'll give this stamp set a try and use it all year long. It's a great addition to any stamp collection.
Note: It's Saleabration time in July and August. If you purchase the Christmas Barn bundle and adhesive or the Perched in a Tree bundle, you'll qualify for a level 1 Saleabration item FREE! You can shop in my online store here.
Need help deciding on what to get? Email me and I'd love to help you get decide what you need for your project. You can email me at stampandcreatewithbeth@gmail.com.
*This video is a Facebook live replay.
Thanks for stopping by my blog and checking out my cards today.
Well, it's a wonderful time that Stampin' Up! gives us some options on free, exclusive products to earn while we shop and stock up on papercrafting supplies.
We earn products from an exclusive brochure and the rewards are based on each $50 increment (before tax and shipping) we spend. There's two levels of products- level 1 ($50 spent) and level 2 ($100). There's also a Stampin' Rewards bonus at $300 for the host or buyer as well as a Joining bonus item. Let's focus on the free products first. I'll be digging in to the Stampin' Rewards special and the Joining special later.
So we're all buying things like cardstock and adhesive- or at least I am replacing that every month. Then there's some new items that have just launched with the new July-December 2022 mini catalog. So what's on your list? Are you shopping for new fall stamps, picking up some items on your wish list from the 2022-23 Annual Catalog, looking for new Winter holiday stamps, or picking up more designer series paper? Let's make sure you get the most value for your dollar!
Check out some of these items you can earn now until August 31, 2022. All items are while supplies last and may sell out. *the Pool Party & Soft Sea Foam cards & envelopes already sold out and are no longer available.
Here's some level 1 items that you can choose when you have a $50 order before tax and shipping. You earn more items for every $50 increment.
Hippo dies
Hippest Hippos stamp set
Stylish Sketches stamp set
Silver & Gold 6" x 6" designer series paper
Rings of Love 12" x 12" designer series paper
Here's some level 2 items that you can choose when you have a $100 order before tax and shipping. You earn more items for every $50 increment.
Tree Lot dies
Amazing Phrasing
Wonderful World stamp set & Wonderful World 12" x 12" designer series paper
Curious how you can earn a Level 1 item?
Let's put an order together to get you to $50. It's a suggestion and you can substitute in any items. I'm available via email if you need help putting an order together to get to a $50 purchase and earn a level 1 item.
Ringed with Nature bundle #159889 is $53 and you can get the coordinating designer series paper from Saleabration brochure free.
Basic White notecards & envelopes, Tuxedo Black memento ink pad, Watercolor pencils assortment 1 and 2 and the Banners pick a punch will get you to level 1. ($65.50 before tax and shipping).
A kit (range from $19-$23), take your pick tool, paper snip scissors, stampin' pierce mat and simply shammy. (approximately $57.50 before tax and shipping). This is a great start for a beginner or someone wanting to try card making and stamping.
** Check back throughout July and August to see some more suggestions on how to earn Saleabration items.
Are you ready to start your Christmas card stash in July?
Usually I'm busy creating for everyone else and designing classes. I tend to neglect what I may need for the upcoming season especially Christmas cards. So that is changing this month, this year! I've started my Christmas cards early so I have my stash all ready to go when it gets near. We often think of this for birthday, thank you and sympathy cards but don't stock up on holiday cards.
Today I want to show off the Peace to You stamp set. I love the images and sayings in this simple but beautiful stamp set. I have some tips on getting a great stamped image in my video below.
Measurements for this card:
Night of Navy card base: 5 1/2" x 8 1/2" folded in half or scored at 4 1/4"
Basic White Layer (front stamped piece): 5" x 3"
Basic White strip for greeting: 2 1/2" x 1"
Basic White layer for inside: 5" x 3 3/4"
I stamped the Holy family image using the Stamparatus. I highly recommend using this tool so you can ink and stamp the image a few times. It has quite a bit of solid background to stamp. I used Night of Navy classic ink for my image and greeting.
To get the watercolor background, I made a mask for the Holy family image with the Stampin' Up! masking paper. Then I stamped the largest rectangle from the Watercolor Shapes stamp set in Balmy Blue classic ink several times until the background was filled. Once you've finished stamping the background, you can remove the masking paper and your stamped image was protected. I colored in Joseph and baby Jesus with Early Espresso, Cajun Craze and Crushed Curry watercolor pencils, Mary is colored with Balmy Blue watercolor pencil. I did not add water to activate the pencil. I like the texture of just the pencil. If you want to water color this image, I recommend stamping in the black Staz On ink or using a blender pen to activate the pencil. Night of Navy ink is water based and can smear with water. Check out my video below to see how I stamped the background and colored the Holy family.
Here's some other cards I made with the Peace to You and Hope & Peace stamp sets:
Here's another version of the card above with die cuts and colored with Stampin' Blends markers.
On this card I created an inlay stitched circle with the circles from Stylish Shapes dies. I used a Night of Navy stampin' write marker to color in the white areas on the side. You'll need to add a few layers to darken it. Greeting from Hope & Peace is heat embossed with silver powder. Add wink of Stella to your star to add some shine. I also added it to baby Jesus.
Quick and simple card using the church image with Night of Navy classic ink. Trim image down and leave some extra toward the bottom for greeting. Add wink of Stella to cross, trees and ground. Greeting stamped in Night of Navy.
Have some fun and use a bright color combo and designer series paper. Bermuda Bay and Basic Gray classic ink and Sweetest Christmas dsp.
Match your colors to the designer series paper you want to use. Sweetest Christmas dsp striped pattern. Pool Party and Basic Gray classic inks.
Check out my YouTube video tutorial on my card and tips on using this stamp set.
Would you like to check out this stamp set and the other items I used today?
You can browse and search for products in my Online Store.
Here's a resource with all the products in a cart for your convenience. You can remove anything you already own or do not need. Peace to You card shopping list
You can view my coloring video of the Holy family done with Stampin' Blends markers here.
BONUS: If you shop in July and August 2022, it's Saleabration time. For every $50 spent (before tax and shipping) you earn FREE Saleabration items from the Saleabration Brochure. These are exclusive stamps, dies and papers that are while supplies last and only available during Saleabration. Don't miss it!
I'm kicking off my month with a little watercoloring. Here's a great technique anyone can do- a watercolor wash background. I love this technique for quick backgrounds that you can stamp an image on top of and create a quick and simple card.
I've create three notecards with the same watercolor pencils (Night of Navy, Pacific Point and Balmy Blue). The background intensity changes with how much pressure you use when applying the pencil to your paper. I colored with the pencils right onto Basic White cardstock. Then used a water painter to smooth out the pencil. Note: when using water painters with basic white cardstock do not use very much water. The cardstock will pill or pull apart as it gets over saturated. I use a damp brush with very little water. You an also use fluid 100 watercolor paper if you have it.
Supplies used:
Watercolor pencils assortment 1 and 2
Water painters
Basic White and Night of Navy cardstock
Basic White notecards
Honeybee Home and Happiness Abounds stamp sets
Opal rounds
Night of Navy blends markers
Night of Navy classic ink pad
I used Basic White notecards & envelopes to make some quick birthday cards.
Measurements for this card:
Basic White notecard base
Night of Navy cardstock 4 3/4" x 3 1/4"
Basic White cardstock 4 1/4" x 2 1/2"
Basic White strip 1/2" x 3"
Measurements for this card:
Basic White notecard base
Night of Navy cardstock 4 7/8" x 3 1/4"
Basic White cardstock 4 1/4" x 2 1/2"
Basic White strip 1/2" x 3"
One this card I stepped it up a bit by adding some opal rounds embellishments that I colored with my dark Night of Navy Stampin' Blends marker.
Measurements for this card:
Basic White notecard base
Night of Navy cardstock 4 7/8" x 3 3/8"
Basic White cardstock 4 3/4" x 3 1/4"
Basic White strip 1/2" x 3"
Want to see how to do this technique? Check out my quick YouTube video.
Do you need the products I used on todays cards? You can check out all the items I used in my Online Store or in this shopping list.
--> Give this technique a try! It's fun and quick and you can create a ton of backgrounds in a flash.
A new mini catalog has gone live! So exciting. And with it comes our second round of Saleabration.
What's Saleabration? It's when Stampin' Up! gives us exclusive, free products with our minimum qualifying orders.
Need a copy of the mini catalog? Email @ stampandcreatewithbeth@gmail.com
Want to browse all the new products online? Check them out here.
Saleabration details:
Items in the Saleabration Brochure are exclusive, not available for purchase
Items are earned FREE with a minimum purchase
You earn more with each $50 increment
Earn a level 1 item with each $50 purchase before tax and shipping
Earn a level 2 item with each $100 purchase before tax and shipping
Hosts get an extra reward when orders total $300
You can grab the starter kit and get a bonus product (custom 18 month planner valued at $45) **This is the best value for your money
Select the deal that is right for you! I'll be posting about my favorite new things, color combos and layout ideas as well as upcoming classes. Be sure to get on my email list and check back in.
Need other stamping supplies? Browse my online store.
P.S. -- Don't miss out on exclusive, free Sale-a-bration products! They're available while supplies last with a qualifying purchase. Sale-a-bration runs now through August 31, 2022. Don't delay and miss your favorites.
I hope you have a wonderful, productive and creative week. Follow me onFacebook, Pinterest and YouTube.


.png)


.jpeg)
.JPEG)
.HEIC)
.jpeg)